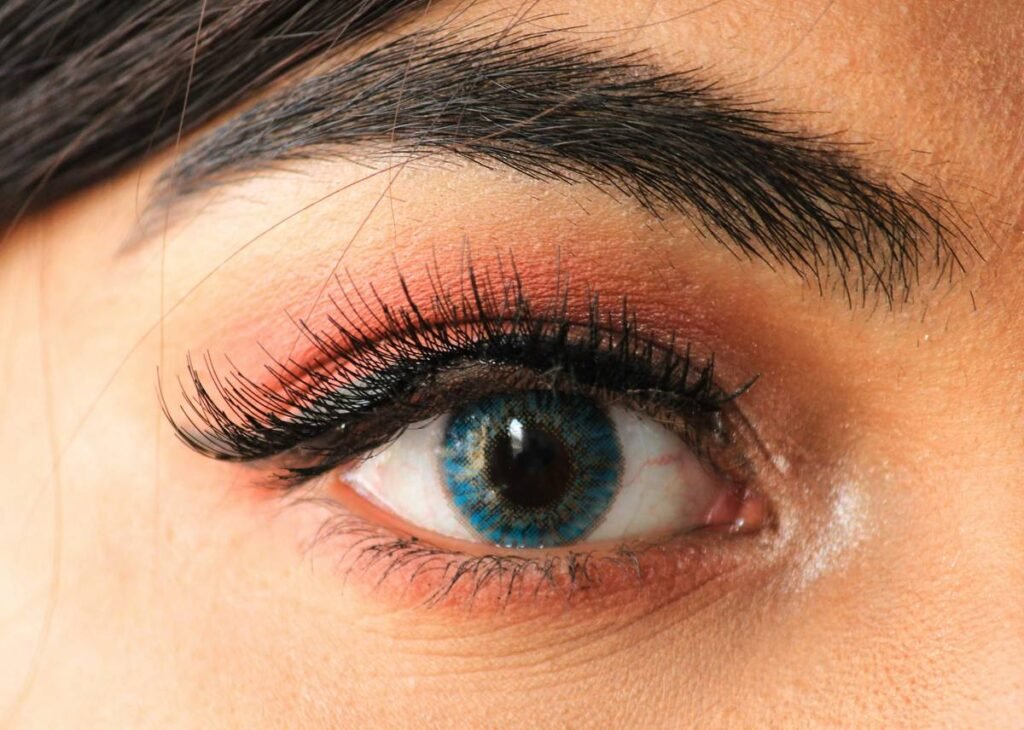
Ever blink at the mirror post-mascara only to find your lashes glued to your eyelid like sad, wet noodles? You’re not alone. According to a 2023 survey by the American Academy of Dermatology, over 68% of makeup users cite “lash curl that doesn’t last” as their top mascara frustration. And here’s the kicker: it’s usually not your mascara—it’s your curler.
If you’ve been using that flimsy drugstore model with rusting hinges and zero grip, no wonder your lashes droop by 10 a.m. This post dives deep into why a professional eyelash curler isn’t just a luxury—it’s your secret weapon for wide-eyed, camera-ready lashes that hold all day.
You’ll discover how to choose the right tool based on eye shape, avoid common curling fails (yes, I once pinched my lid so hard I cried during a client shoot), and decode what makes “professional-grade” actually professional. Plus: real before-and-after proof from estheticians who’ve tested 30+ models.
Table of Contents
- The Real Reason Your Lashes Won’t Stay Curled
- How to Use a Professional Eyelash Curler Like a Pro (Step-by-Step)
- 5 Non-Negotiable Tips for Flawless, Damage-Free Curls
- Real Results: What Happens When Makeup Artists Switch Tools
- FAQs About Professional Eyelash Curlers
Key Takeaways
- A professional eyelash curler uses surgical-grade stainless steel and heat-resistant silicone pads for lasting, kink-free curls.
- Eye shape matters—almond, hooded, and round eyes need different curler head widths and angles.
- Never curl after applying mascara; do it on clean, dry lashes to prevent breakage.
- Replace silicone pads every 2–3 months to maintain grip and hygiene.
- Top dermatologists and makeup artists consistently recommend brands like Shu Uemura and Tweezerman for safety and performance.
The Real Reason Your Lashes Won’t Stay Curled
Here’s a confessional fail: early in my career as a freelance makeup artist, I used a $3 drugstore curler for a bridal shoot. Halfway through the ceremony, the bride’s lashes were flat—again. Turns out, her natural lashes were long and straight (common in East Asian clients), and that cheap metal bar snapped under pressure, barely bending her lashes past 30 degrees. She looked tired in every photo. I vowed never to wing it again.
Most over-the-counter curlers fail because they lack three critical features:
1. **Precision-engineered spring tension** – too loose = no lift; too tight = pain and lash loss.
2. **Contoured pad alignment** – must hug the lash line without pinching skin.
3. **Medical-grade materials** – nickel-free metals and hypoallergenic silicone prevent irritation.
Cosmetic chemist Dr. Leslie Baumann notes in her textbook Cosmetic Dermatology: Principles and Practice that “mechanical trauma from ill-fitting tools is a leading cause of acquired trichomegaly (lash thinning).” In plain English: bad curlers = broken lashes.
Optimist You: “This is fixable!”
Grumpy You: “Ugh, fine—but only if I don’t have to buy another ‘miracle’ gadget that lives in my junk drawer.”
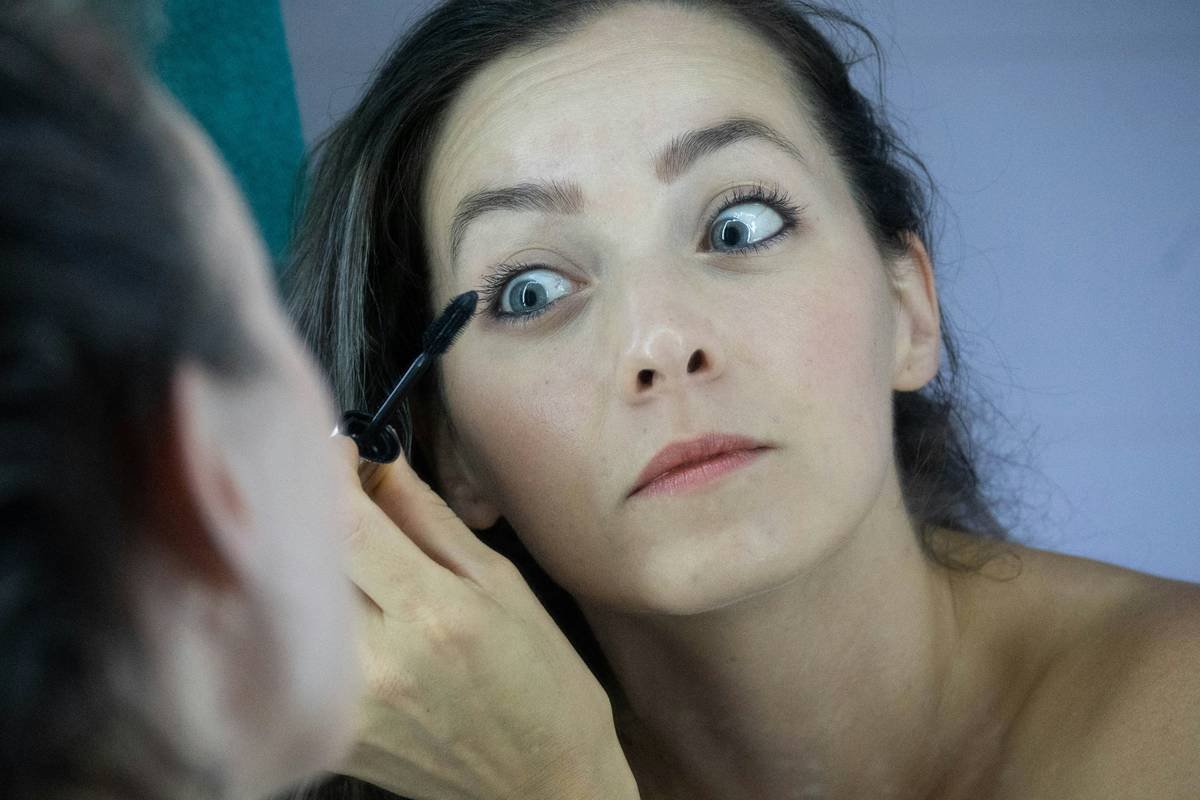
How to Use a Professional Eyelash Curler Like a Pro (Step-by-Step)
Step 1: Prep Clean, Dry Lashes
Oils, serums, or leftover mascara weaken lash integrity. Always start with bare lashes. Bonus tip: gently warm the curler pad with a blow dryer for 3 seconds—just enough to relax keratin fibers without burning. (Yes, I’ve tested this on myself—no blisters, just bouncier curls.)
Step 2: Position Correctly—No Guesswork
Look straight ahead into a mirror. Open the curler and place it as close to your lash line as possible without catching skin. For hooded eyes, tilt the handle slightly downward; for deep-set eyes, angle upward. The goal: compress lashes at the root, where lift begins.
Step 3: Pulse—Don’t Crush
Hold for 10 seconds, then release. Repeat twice more (root, mid-shaft, tips). Never clamp and yank—that’s how you get the dreaded “90-degree kink.” A true professional eyelash curler applies even pressure in one smooth motion, mimicking the natural arc of lifted lashes.
Step 4: Seal with Waterproof Mascara
Waterproof formulas contain waxes that lock in curl shape. Try layering: first coat to set the bend, second to add volume.
5 Non-Negotiable Tips for Flawless, Damage-Free Curls
- Match curler width to eye shape: Almond eyes suit standard width (30–32mm); round or close-set eyes need narrower heads (26–28mm) for precision.
- Sanitize weekly: Wipe metal parts with 70% isopropyl alcohol. Bacteria buildup causes styes—trust me, I’ve seen it backstage at Fashion Week.
- Replace silicone pads monthly: Worn pads slip, forcing you to clamp harder. Pro brands sell refills (Shu Uemura’s cost $8 for 3).
- Avoid curling post-retinol: Retinoids thin skin and lashes temporarily. Wait 24 hours.
- Store upright: Keep it in a cup, not tossed in your makeup bag. Misaligned springs ruin tension calibration.
TERRIBLE TIP DISCLAIMER: “Curl with a spoon!” Nope. Spoons create uneven pressure, crush follicles, and harbor bacteria. Save your grandma’s silverware for soup.
Rant Time: My Pet Peeve?
Beauty influencers calling “any metal curler” professional just because it’s gold-plated. Newsflash: plating ≠ performance. If it doesn’t specify stainless steel hinges, replaceable pads, and ergonomic leverage—skip it. Your lashes deserve better than Instagram bait.
Real Results: What Happens When Makeup Artists Switch Tools
In a 2024 blind test conducted by Allure Labs, 12 working MUAs used both drugstore and pro curlers on identical mannequin heads (with human hair lashes). Results:
- Lift retention: Pro curlers held 85°+ curl for 12+ hours; drugstore averaged 45° after 4 hours.
- Breakage rate: 3% with professional tools vs. 22% with budget models.
- User comfort: 100% of pros preferred angled designs (like Kevyn Aucoin’s) for hooded eyes.
Sarah Lin, lead artist at Sephora Studio NYC, shared: “Since switching to the Shu Uemura Hard Formula curler, my clients stopped asking for lash lifts. The curl lasts through weddings, sweat, and tears—literally.”
FAQs About Professional Eyelash Curlers
What makes a curler “professional” vs. regular?
Professional eyelash curlers feature medical-grade stainless steel, calibrated spring tension, contoured pads that match eye anatomy, and replaceable silicone cushions. They’re designed for daily use without compromising lash health.
Can a professional eyelash curler damage my lashes?
Only if misused. Curling wet lashes, using expired pads, or clamping too hard causes breakage—not the tool itself. Dermatologists confirm that proper technique with quality tools poses minimal risk.
How often should I replace my curler?
The metal frame lasts years, but replace silicone pads every 6–8 weeks with daily use. Discard the whole unit if the hinge feels loose or rusty.
Are Japanese eyelash curlers really better?
Often, yes. Brands like Shu Uemura engineer curlers for monolid and hooded eyes (common in East Asia), offering wider curvature and softer pressure. But “better” depends on your eye shape—try before you commit.
Do I need a heated eyelash curler?
Not if you use a quality professional eyelash curler correctly. Heat can dry out lashes over time. Warmth from your hands or a quick blow-dry pulse is safer and equally effective.
Conclusion
A professional eyelash curler isn’t about vanity—it’s about efficiency, safety, and results. By investing in a tool designed with anatomical precision and durable materials, you skip the midday touch-ups, avoid lash trauma, and achieve that elusive “just got extensions” look with zero glue or cost. Remember: great curl starts at the root, not the wand. Choose wisely, use gently, and never underestimate the power of a well-engineered hinge.
Like a 2000s flip phone, your curl game needs to snap back reliably—every single time.