Flat, downward-facing lashes sabotage even the most expensive mascara. You curl—yet see zero lift. Frustrating? Absolutely. But here’s the fix: it’s not your mascara. It’s your lash styling tool. Most are using a blunt instrument on a delicate structure—and wondering why results look forced or fleeting.
Why Traditional Eyelash Curlers Fail Miserably
Standard drugstore eyelash curlers assume every eye is identical. They’re not. Eye shape, lid depth, lash length—all vary wildly. Yet manufacturers ship one-size-fits-none designs with rigid silicone pads that flatten instead of sculpt. The result? Crimped tips, mid-lash kinks, or worse—broken fibers.
And heat? Many believe warm tools = better curl. Not always. Excessive heat dehydrates keratin proteins, making lashes brittle within weeks. The industry hides this because replacements mean repeat sales.
Mastering the Modern Lash Styling Tool: A Precision Protocol
Forget brute force. Think architecture. Your lashes need three-dimensional shaping—not a two-second pinch.
Step 1: Prep Like a Pro
Clean lashes first. Oil residue from serums or remnant makeup creates slippage. Use a micellar wipe—nothing greasy. Dry completely. Damp lashes stretch; dry lashes hold form.
Step 2: Angle Dictates Lift
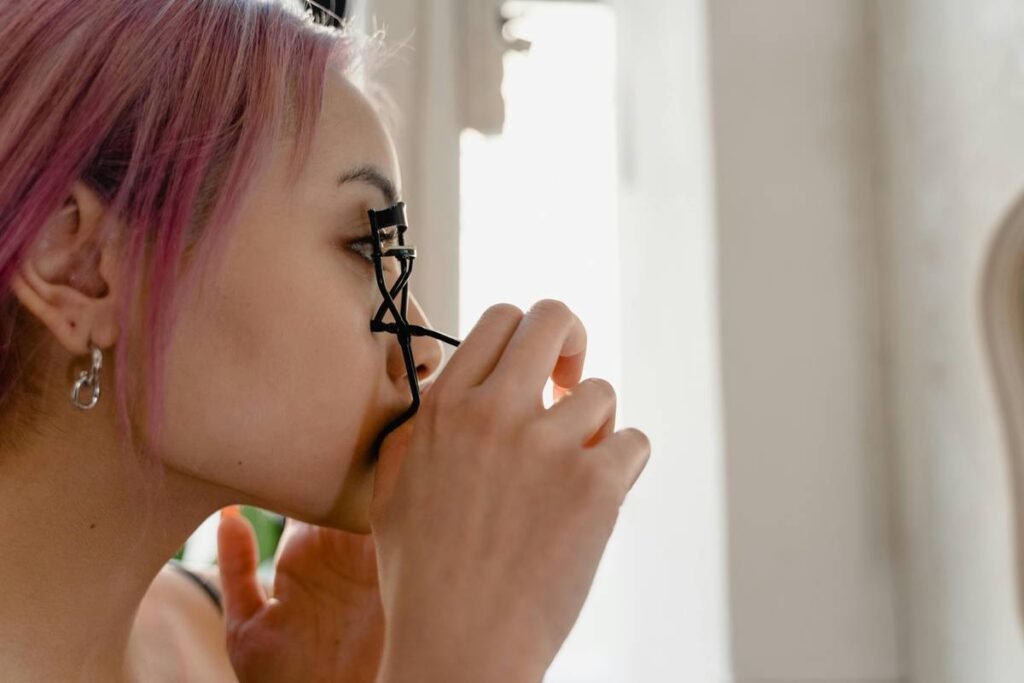
Hold the curler vertically—not horizontally. Press the base (not the tips) against your lid. Rock gently upward in 5-second pulses. Three pulses max. Over-curling weakens the root.
Step 3: Layer Smartly
Apply a water-resistant topcoat *after* curling—not before. Mascara formulas with polymers act like glue when wet. Once set, they lock the curl in place for 12+ hours.
| Tool Type | Lift Duration | Risk of Damage | Best For |
|---|---|---|---|
| Classic Spring-Loaded Curler | 2–4 hours | High (if misaligned) | Shallow-set eyes, short lashes |
| Heated Metal Wand | 6–8 hours | Moderate (heat exposure) | Dense, coarse lashes |
| Professional-Grade Lash Styling Tool (Contoured, Multi-Angle) | 10–14 hours | Low (with correct technique) | Hooded lids, long natural lashes |

The Industry Secret: Silicone Pads Aren’t Interchangeable—They’re Strategic
Here’s what brands won’t tell you: the silicone pad’s durometer (hardness) must match your lash texture. Soft pads (30–40 Shore A) cradle fine lashes without flattening them. Dense lashes need firmer pads (60+ Shore A) to grip and redirect growth pattern. Most kits include only one generic pad—dooming half their users to subpar results.
Swapping pads quarterly isn’t maintenance—it’s calibration. Elite makeup artists carry three: soft, medium, and firm. They assess lash resilience pre-application. You should too. A $2 replacement pad outperforms a $30 tool with the wrong insert.

Frequently Asked Questions
Can a lash styling tool damage natural lashes?
Yes—if used incorrectly. Pulling, overheating, or using worn pads causes breakage. Always clamp at the base, never tug, and replace pads monthly.
How often should I replace the silicone pad?
Every 4–6 weeks with daily use. Bacteria buildup and material fatigue reduce grip, forcing you to squeeze harder—leading to lash trauma.
Are heated lash curlers better than mechanical ones?
Not universally. Heat helps coarse lashes but dries fine ones. Mechanical tools with contoured bars offer more control for sensitive eyes.